

Most homeowners assume emptying the mesh screen on their clothes dryer is enough to keep laundry day safe. Unfortunately, millions of tiny textile fibers slip past domestic filter screens every year, drifting deep into chassis cavities, concealed exhaust ducts, and wall assemblies where high temperatures turn them into volatile fuel. Because lint fires start in hidden places far out of plain sight, a false sense of security often delays essential maintenance until mechanical components overheat. Prioritizing comprehensive dryer vent safety through systematic pipe cleaning and appliance inspections is the single most effective way to eliminate these hidden hazards before catastrophe strikes.
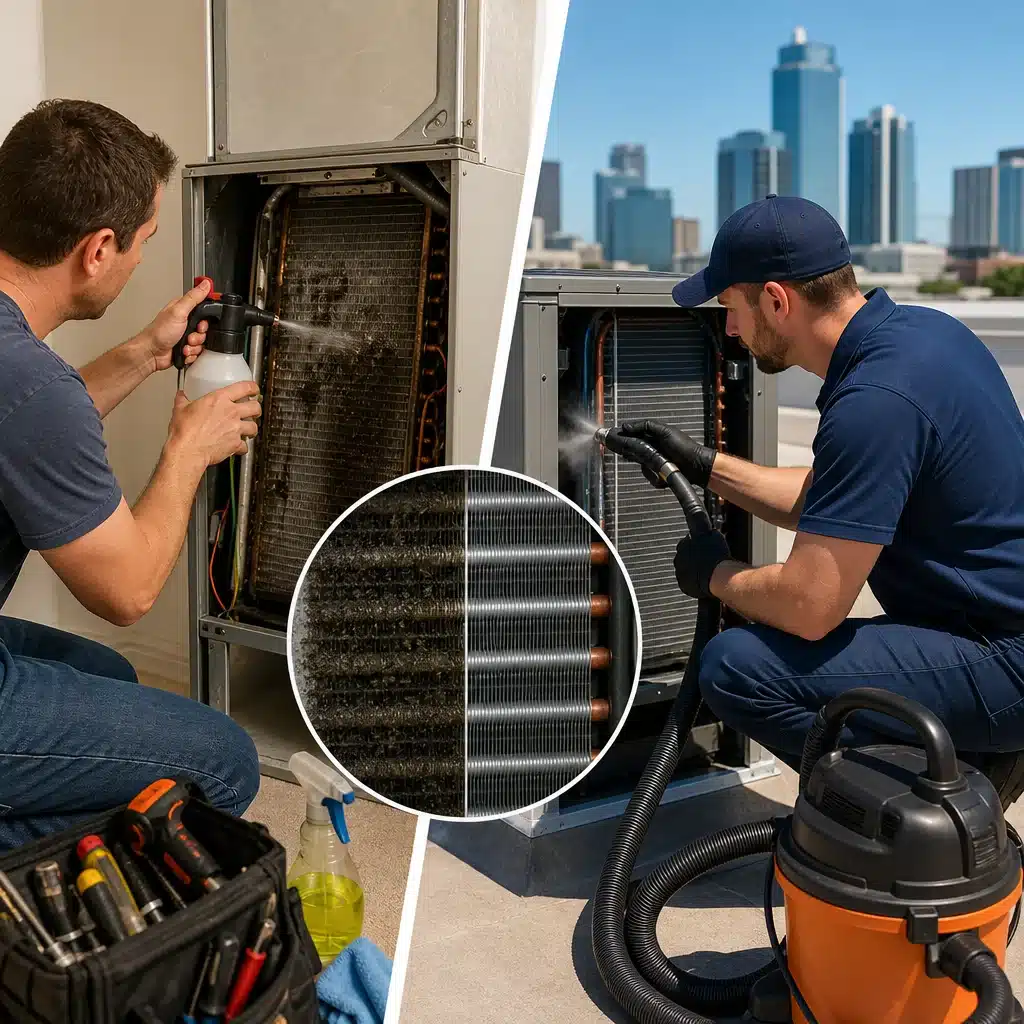
Recognizing where combustible fibers accumulate, and understanding the thermodynamic factors that spark them, protects both your home’s structural integrity and your family’s safety.
The Hidden Anatomy of a Laundry Fire Hazard
A residential clothes dryer is an aggressive air-handling system that operates under high thermal loads. While visible areas look clean, hidden internal zones trap flammable deposits over years of steady operation.
1. Internal Heating Element Housings: Electric heating coils and gas burner funnels pull combustion air across interior cabinet corners, drawing airborne fluff straight across incandescent heating elements.
2. Blower Fan Housings and Internal Ducts: Moisture-laden lint sticks to internal fan scrolls, creating thick, felted blankets that insulate motors and reduce critical air velocity.
3. Concealed Wall Cavities: Flexible foil or plastic transitional hoses frequently tear behind drywall, discharging hot, lint-choked exhaust directly into hollow studs and floor joists.
4. Exterior Damper Hoods and Louvers: Outdoor exhaust terminations accumulate lint along flapper hinges and security grates, ultimately pinning louvers shut and backing heat straight into living spaces.
Why Lint Fires Start in Hidden Places: The Physics of Ignition
Lint is among the most combustible materials found inside any modern household. Composed of microscopic cotton, linen, and polyester filaments, it possesses a massive surface-area-to-mass ratio that makes ignition remarkably swift.
1. Thermal Insulation and Component Suffocation
Electric heating elements and gas burner assemblies rely on high-volume airflow to whisk heat away into the exhaust run. When internal lint deposits blanket electrical terminals, thermostats, or drive motors, thermal dissipation halts. Operating temperatures quickly spike beyond safety thresholds, turning trapped lint into a smoldering wick.
2. Static Back Pressure and Restricted Airflow
As exhaust ducts narrow under layers of packed lint, static back pressure mounts against the internal blower wheel. The appliance must run double or triple cycles to dry laundry, prolonging mechanical heat exposure. Restricted ventilation traps superheated air inside the drum cabinet, creating the exact thermal conditions required for auto-ignition.
3. Transition Duct Crushing and Pinched Bends
When laundry appliances are pushed tight against rear laundry room walls, standard transition connectors kink and collapse. These sharp bends create immediate turbulence zones where heavy, wet fibers fall out of the airstream and build up into dense, highly flammable plugs within weeks.
4. Synthetic Fiber Flammability
Modern garments contain substantial percentages of petroleum-based synthetics such as nylon, spandex, and polyester. Unlike natural cotton, which smolders before burning, synthetic lint melts into sticky, liquid chemical fuel that burns intensely and spreads rapidly through concealed building corridors.
Hidden Risk Zones: Where Lint Silently Collects
Lint does not distribute evenly; it seeks out specific friction points, turns, and low-velocity pockets throughout your ventilation footprint.
|
Location |
Ignition Risk Level |
Typical Hazard Mechanism |
|
Behind the Dryer Drum |
Extremely High |
Electrical sparks or burner flames directly ignite accumulated cabinet fleece |
|
Transition Duct Elbows |
High |
Trapped fiber dams choke airflow, overheating the appliance chassis |
|
In-Wall Vertical Risers |
Very High |
Gravity causes heavy damp fibers to drop and compact into wall pipes |
|
Attic Duct Runs |
Critical |
Long horizontal spans cool exhaust air, depositing wet lint across roof rafters |
|
Exterior Vent Hood Flappers |
Moderate to High |
Jammed dampers cause heat, moisture, and carbon monoxide to back up indoors |
Warning Signs That Concealed Lint Poses an Imminent Threat
Because lint fires start in hidden places, dangerous thermal conditions develop long before visible smoke or flames appear. Homeowners should stay alert for these telltale operational red flags:
1. Extended Drying Times: Loads that once finished in 40 minutes now require two or three consecutive cycles to dry completely.
2. Excessive Exterior Heat: The top or sides of the dryer cabinet feel scorching hot to the touch during normal mid-cycle operation.
3. Pungent Musty or Burning Odors: A distinct hot-dust or electrical burning smell permeates the laundry area when the unit heats up.
4. Moisture and Lint Deposits Indoors: Laundry room walls show condensation, or fuzzy lint coats baseboards, window ledges, and rear wall spaces.
5. Absent Exterior Exhaust Flow: The exterior vent hood flapper barely opens or exhausts no noticeable warm air while the dryer runs.
Step-by-Step Guide to Restoring Complete Vent Integrity
Safeguarding your laundry room requires thorough preventive maintenance that addresses every concealed segment of the system from cabinet to cap.
Step 1: Disconnect and Clear Appliance Clearances
Unplug the electric power cord or switch off the dedicated 240-volt circuit breaker. For gas appliances, close the gas supply shutoff valve before moving the cabinet out from the wall to inspect the rear hookup.
Step 2: Replace Flammable Flexible Transition Ducts
Inspect the connector between the appliance collar and the wall outlet. Discard flexible white vinyl or thin foil accordion hoses immediately, replacing them with semi-rigid or rigid aluminum ducting that resists crushing and withstands high temperatures.
Step 3: Clear the Full Vent Run Using Rotary Brushes
Thread a specialized rotary nylon brush attached to flexible fiberglass rods through the exterior termination or interior wall collar. Spin the brush slowly with a drill while running an industrial vacuum to extract compacted lint walls along every elbow.
Step 4: Vacuum the Internal Chassis and Blower Housing
Remove the bottom service access panel or lint trap housing on the dryer. Use narrow crevice tools to vacuum accumulated felt blankets off motor surfaces, drive belts, gas solenoids, and heating element coils.
Step 5: Clean and Test the Exterior Termination Hood
Wipe away accumulated fiber mats from the exterior flapper, ensuring the damper swings freely without sticking. Never install fine wire mesh or pest screens over dryer vent caps, as these quickly mat with lint and seal the exhaust pipe shut.
Long-Term Maintenance for Permanent Peace of Mind
Eliminating fire hazards requires consistent operational habits rather than occasional crisis repairs. Wash lint screens with warm soapy water every six months to dissolve invisible chemical residues left behind by liquid fabric softeners and dryer sheets.
Schedule an annual professional ventilation inspection to measure static back pressure and verify complete airflow clearance across concealed building cavities. Taking proactive measures guarantees peak drying performance, drastically cuts monthly electric bills, and ensures your home remains safely shielded from devastating concealed fires.