

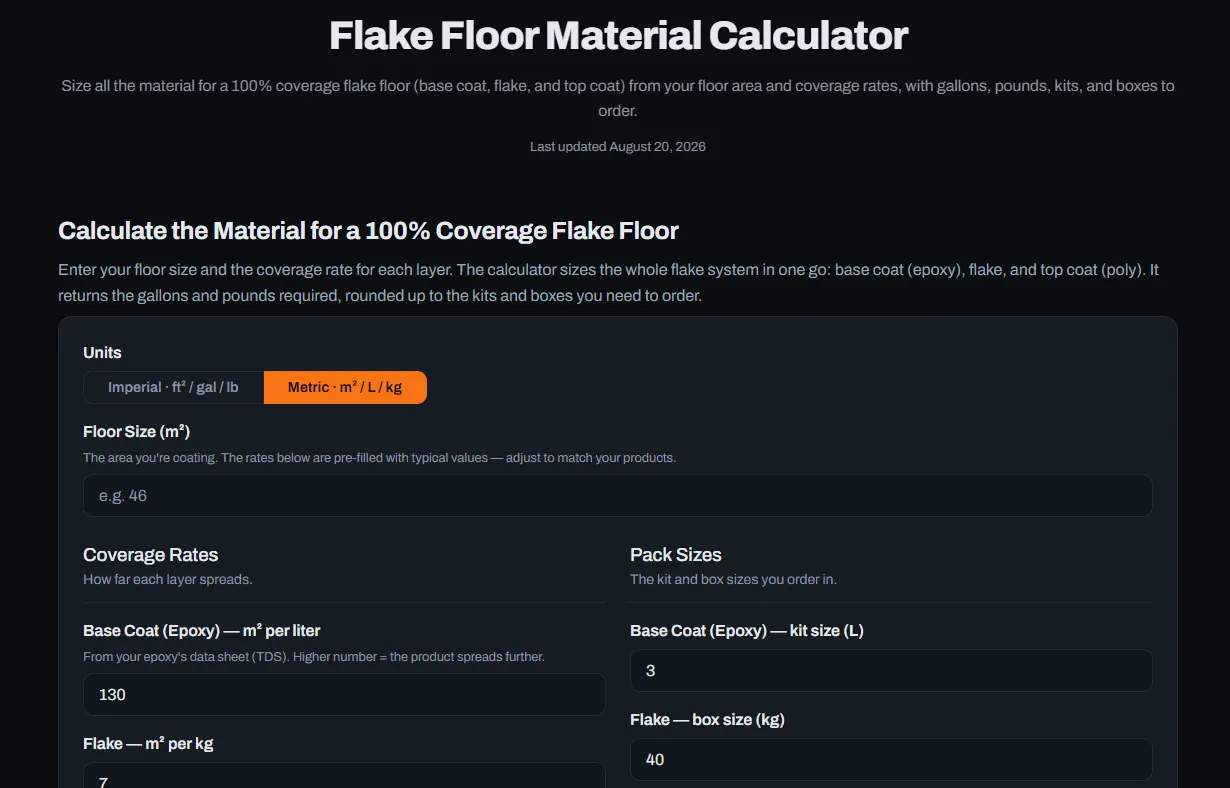
Every flooring job is won or lost before the first drop of resin is mixed. Underestimate materials, and you pay for emergency runs and rushed decisions. Overestimate and the surplus eats your margin. An epoxy coverage calculator is the starting point for sound estimating, but the tool is only as good as the numbers you feed it. This article explains how to gather those numbers properly.
Start With Real Measurements
Never trust plans alone. Walk the site with a laser measure and record each room, alcove, and threshold. Sketch the layout and note anything that changes surface area, such as columns, stairs, and sunken drains.
Take photos of every wall and corner. These images become a reference when you review the job later, and they help crew members understand what the estimate assumed. Good records protect you if a client disputes the scope.
Understanding Spread Rates
Manufacturers publish coverage figures based on smooth, sealed test panels. Real slabs are rougher and more absorbent, so actual coverage is usually lower. Treat published rates as the optimistic end of a range.
Adjust for substrate condition. A freshly ground, porous floor absorbs primer quickly, while a dense, power-troweled slab needs less. Keep a log of actual usage on past jobs, then refine your assumptions with those results.
Allowing for Waste and Overlap
Waste is unavoidable. Material clings to buckets, rollers, and mixing tools, and edges require extra cutting in. A buffer of a few percent keeps you from running short during critical coats.
Complex layouts need larger allowances. Many corners, columns, or intricate borders consume more product than open rectangles. Note these factors in your estimate, so the final figure reflects reality instead of an idealized floor plan.
Planning Decorative Systems
Decorative floors add another layer of math. A flake broadcast calculator helps you estimate how many pounds of chips a given area needs, depending on whether you want light, medium, or full coverage. Full broadcast uses far more material than a sprinkled finish.
Plan for the excess you will sweep up after curing. Some of it can be reused, but only if it stays clean and dry. Record the blend ratios you used, so you can match the look if the client orders more rooms later.
Converting Material Costs Into Prices
Raw material is only one cost. Add labor, equipment wear, consumables, travel, insurance, and overhead before applying a margin. Many small contractors forget hidden items and discover the shortfall at year-end.
Track hours per square foot for each task: grinding, crack repair, priming, and topcoats. Over time, those numbers show where you are efficient and where jobs consistently run long.
Using Estimates as Quality Controls
An estimate also sets expectations for the crew. If a job is calculated to use a certain amount of resin, deviations reveal problems. Heavy overuse may signal poor spreading, while underuse can mean thin coats.
Compare estimates with actual consumption at the end of every project. A short review meeting after completion turns each job into a lesson, improving accuracy and consistency over the following months.
Communicating Costs to Clients
Explain your numbers in plain language. Clients appreciate seeing preparation, materials, labor, and finishing listed separately. Transparency builds trust and reduces pushback on price.
Offer options when possible, such as a basic and an upgraded system. Clear choices help customers feel in control, and they show that your pricing is based on real requirements rather than guesswork.
Conclusion
Accurate estimating combines careful measurement, realistic spread rates, sensible waste allowances, and honest costing. Track results, compare them with estimates, and refine your assumptions regularly. Contractors who do this protect their margins and deliver predictable, professional outcomes.
For tools that support planning and costing, visit tradeepoxy.com and explore the resources available to you.